
Turn an Old PC into a Home Media Server with Linux
Give a forgotten desktop a second life as a Linux media server, from distribution choice and disk mounts to Jellyfin libraries and Samba shares.
The tower in the back of your closet is almost certainly fast enough to stream a movie to the living room while someone else listens to music in the kitchen. Old hardware struggles with the newest games, not with serving files. With a small Linux install, a couple of drives, and an hour of patience, that machine becomes the quiet centre of your home network — no subscription, no cloud, no drive that disappears when a company changes its pricing.
What Kind of Machine You Actually Need
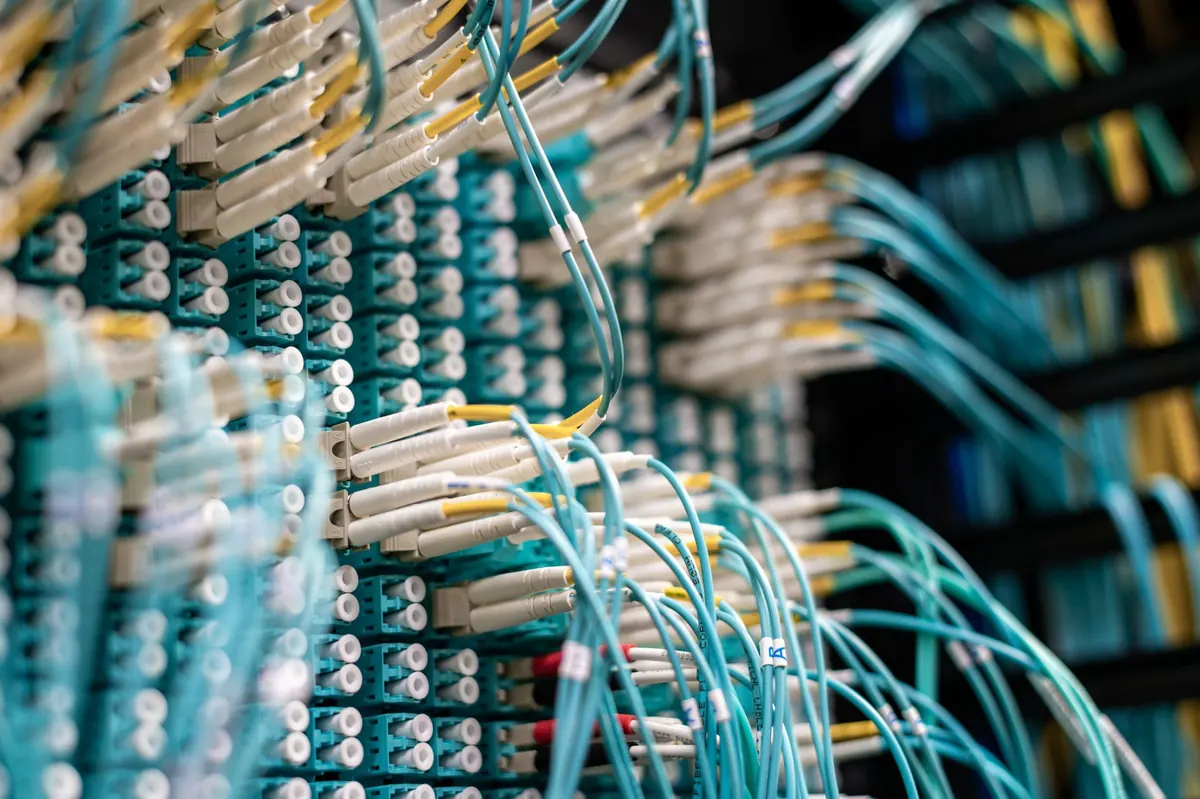
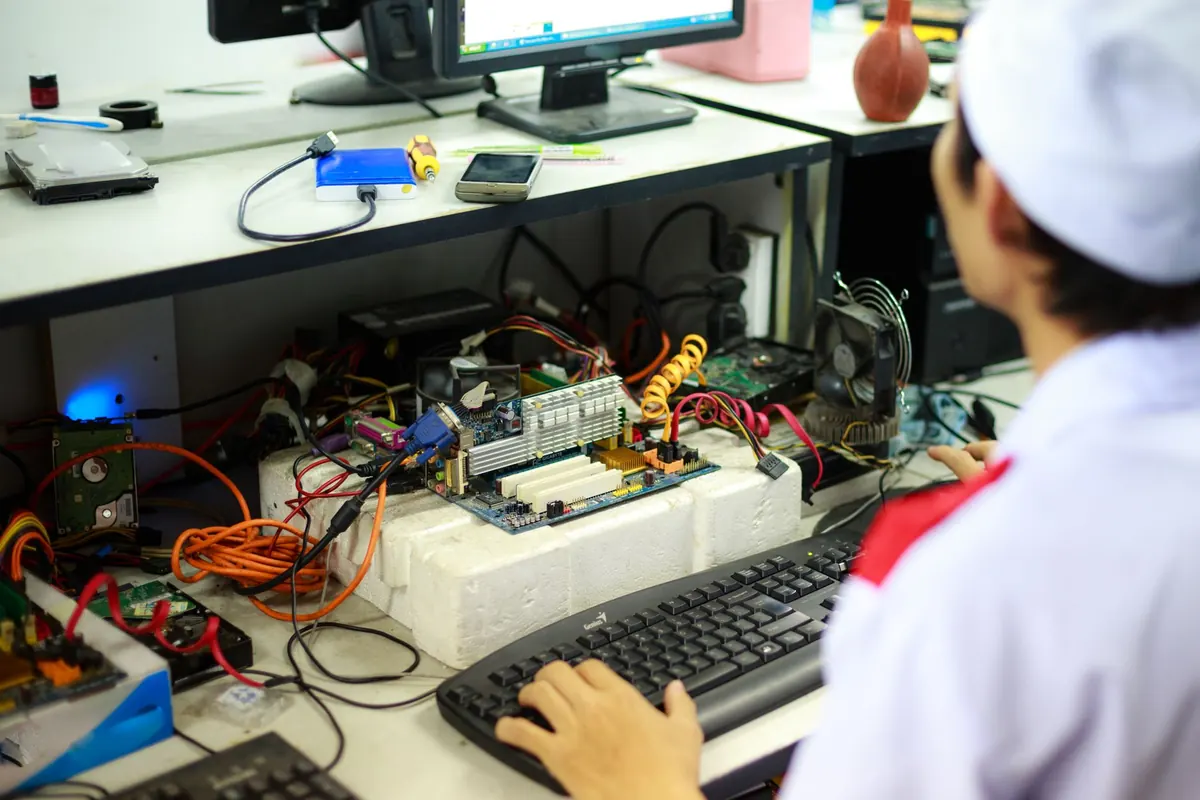
For a household media server, disk space matters far more than processor speed. A dual-core x86-64 machine with 4GB of RAM handles direct playback comfortably; 8GB gives you room if you plan to transcode video on the fly. A wired Ethernet connection is worth more than any upgrade — Wi-Fi streaming drops frames in ways that are hard to diagnose.
A few practical notes before you start:
- Laptop hardware works, but check that the BIOS can ignore the closed lid, or the machine will sleep the moment you shut it.
- Small-form-factor desktops (ThinkCentre Tiny, OptiPlex Micro and similar office cast-offs) are cheap, quiet and easy to tuck into a shelf.
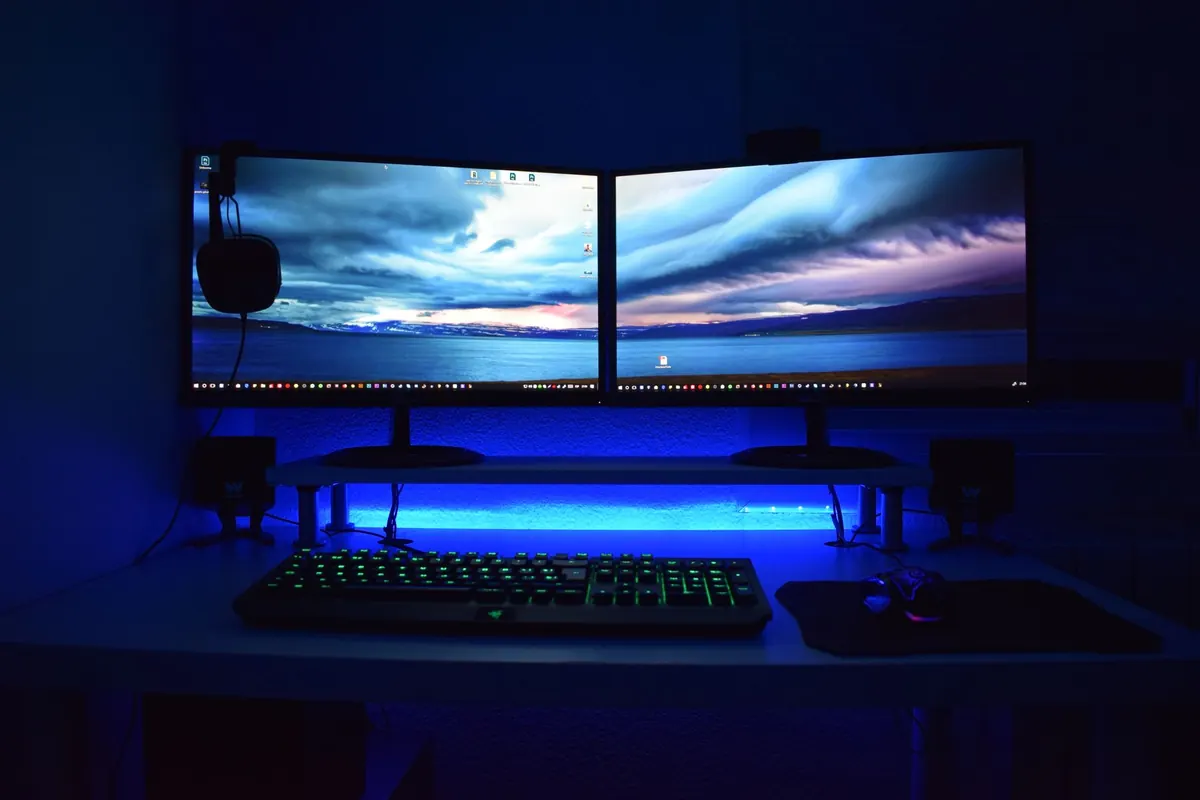
- If the machine has no display output issues and posts fine, you won't need a monitor after the install. Set up SSH early.
- An SSD for the operating system is nice, not required. A 120GB drive from a drawer is plenty.
Pick a Distribution You Won't Have to Fight
Choose stability over novelty. Debian stable and Ubuntu Server LTS both receive security updates for years and have enormous package repositories, which matters when you need a media server package that's still supported. If you want a graphical desktop for occasional use, Linux Mint is a friendly compromise.
Rolling-release distributions are tempting, but a server you touch twice a year should not surprise you with a breaking kernel update. Install, then enable unattended security upgrades so the machine patches itself while you sleep.
Install It, Then Make It Headless
Write the ISO to a USB stick with a tool like Rufus or balenaEtcher, boot it, and pick the minimal install option. Give the machine a memorable hostname such as homeserver, set a strong password, and let the installer use the whole system disk.
When it reboots, find the IP address from your router's client list and reserve it there. A DHCP reservation beats a static configuration in the OS: the address never changes, and you can adjust it later without editing config files.
- Install the SSH server: sudo apt install openssh-server (the package name is the same on Debian and Ubuntu).
- From your main computer, run ssh youruser@192.168.1.50 to confirm you can log in.
- Enable the service so it starts at boot, then unplug the monitor and keyboard.
Everything from here on happens over SSH. If you want remote access from outside your home, look into a VPN such as WireGuard rather than opening ports on your router — a media server exposed directly to the internet is a bad bet.
Storage, Mounts and Permissions
Keep the operating system on its own disk. Media goes on separate drives, so a failed system disk never costs you your film collection. Connect the drives, then run lsblk -f to see what the kernel found and sudo blkid to read each partition's UUID.
Mount by UUID, not by device name. Drive letters shuffle between reboots, and a media library that vanishes after a power cut is maddening. Add one line per drive to /etc/fstab with the UUID, a mount point such as /srv/media/movies, the filesystem type, and the options defaults,nofail. The nofail flag means the machine still boots if a drive is unplugged.
Then set ownership so your user — or a dedicated media group — can read and write:
- sudo chown -R youruser:youruser /srv/media for a simple single-user setup.
- If other accounts need access, create a shared group and add each user to it rather than loosening permissions to 777. Open permissions cause strange problems later.
- Point the media server at the mount points, not at the raw devices.
For a tidy library across multiple drives, merging tools can present several physical disks as one folder. That's convenient, but it adds a layer of complexity — start with plain folders and add pooling only if you find yourself juggling drives.
Install the Media Server
Jellyfin is the natural starting point: free, open source, no account required, with clients for phones, smart TVs, browsers and Kodi. Plex is a reasonable alternative if you want polished apps and easy sharing outside the house, though some features sit behind a subscription.
Both install cleanly from their official repositories, or in a Docker container if you prefer to keep the host system untouched. Follow the project's own instructions for your distribution — the install steps change often enough that copying a blog snippet is a good way to waste an evening.
Library structure matters more than any setting. A layout like Movies/Film Title (Year)/Film Title.mkv and TV/Show Name/Season 01/ lets the scraper match artwork and descriptions automatically. Dump loose files in one heap and you'll spend a weekend renaming.
One honest warning about hardware: older CPUs without modern video decoding will choke on HEVC or 4K transcoding. If your playback device supports the file directly, the server just sends bytes and everything is fine. When in doubt, test with the client you actually use before assuming you need a new machine.
Share Files with Samba
Jellyfin handles playback, but sometimes you want to copy a folder of photos from your laptop. Samba does that. Install the package, edit /etc/samba/smb.conf to expose your media directories, and create a Samba password with sudo smbpasswd -a youruser. Keep the shares read-only for guests and read-write only for the accounts that need it.
Back up the things you can't replace. Family photos and personal video deserve a second copy on an external drive or another machine. Films and music can usually be re-obtained; a decade of birthday pictures cannot. Rules about copying commercial discs vary by country, so check your local law if that's part of your plan.
Keeping It Running Quietly
Install smartmontools and check drive health periodically with sudo smartctl -a /dev/sda. Look at the reallocated sector count and the power-on hours rather than obsessing over every attribute. Set up a quick email or log alert so a failing disk tells you before it dies.
Don't chase aggressive disk spindown for a server that's used daily. The power saved is small and the extra start-stop cycles add wear. Instead, make sure the machine has airflow, blow the dust out once a year, and connect it to a surge protector. A small UPS is a worthwhile purchase if your area has unreliable power, since sudden shutdowns are hard on spinning drives.
Document what you built: hostname, IP address, mount points, the folders you created, and where the passwords live. Six months from now you'll thank yourself.
Start Small and Let It Grow
Install Linux on the old machine this weekend with a single drive. Get Jellyfin running with twenty films, add your music, and use it for a week. Once it feels solid, add the second drive, the photo library, the backup routine. A home media server is not a project you finish in one sitting — it's a small piece of infrastructure that quietly gets better every time you add something to it. And the hardware cost is zero, because you already own it.
Photo: cottonbro studio / Pexels